I was so tired of looking at my washing maschine, I decided to finally
get in gear and make curtains. A curtain rod was already in place,
though it was one I've never seen before and that needed special
curtains: the ruffled kind :)
I went to the home
hardware store and got the necessary parts (ruffling ribbon, hooks) and
was going to barge ahead, but luckily I listened to the tiny voice that
told me that it *might* just be a good idea to maybe see if someone may
have posted a little video or tutorial on how to use this ruffle-ribbon
:)
Well, I was so wrong in my original plans, I probably would have wasted a whole bunch of fabric and ribbon...
This is the final result:
And here's how I got there:
Materials:
- Fabric about 30-50% wider than needed for the courtain width (to
accomodate the ruffling), (selvadges removed, fabrice washed and
ironed)
- Enough ruffle ribbon for the width of the curtains
- Enough hooks to have one about every 4"
This
is the T-bar that the hooks will slide one later: it's kind of a T
attached to an upside down T. I put masking tape along the raw edges to
keep the curtain from slipping off the rod (I didn't want to have to go
back to the store to get special end pieces - it's quite a ways to the
next store that sells this stuff).
Start
by finishing the edges along the sides by folding the fabric over twice
and sewing it down (relatively large stitch length).
Next fold the top edge of the fabric 1"-1.5" and pin along the length of the fabric.
Pin the ribbon in place on top, so that the bottom edge of the ribbon aligns with the bottom edge of the folded fabric.
At
the ends, flip about 2" of the ribbon under to make a nice finished
edge. Importantly, pull out the 2 threads that run through the ribbon
and that stick out in loops every once in a while out, so that they come
out of the ribbon where it's folded over.
Here's
what it looks like with the ribbon pinned in place and folded over at
the edge. Between the two pins, you can see another spot where the 2
threads are loose so that they could easily be pulled out there.
Sew
along the top and bottom edges of the ribbon, just catching the edges,
so that you end up with a nice double seam on the finished side of the
curtains. At the end, fold the ribbon under again, pulling out the 2 threads just as you did at the start of the seam.
Here
I'm showing where the hooks will go through. These loose bits in the
middle stip of the ribbon run in regular spots along the whole ribbon.
Before I looked at instructions on how to do this, I had thought the
hooks go through those loops made by the 2 threads :)
Put the hooks in like so:
Next,
put all the hooks onto the T-bar and gently pull on the 2 threads that
are hanging out at each end of the curtains. Pull and move the fabric
along until you reach the desired width of your curtains. I then tied
the 2 threads and hid them in the ribbon.
Here's what it looks like all aligned on the T-bar.
And now my guests have something pleasant to look at when using the guest bathroom :)


 My make-shift sewing space - in the living-room once again :) The future quilt room is still awaiting furniture, and right now I've got a big rug drying in there after beating it out in the snow to clean it, so there's hardly enough space to get across the room!

.JPG)

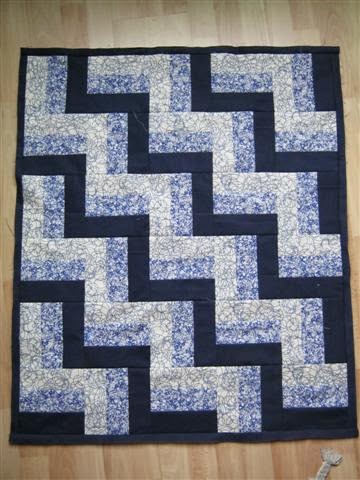
 Need to do: Quilt | Bind
 Need to do: Baste | Quilt | Bind
 Need to do: Finish blocks (24 done!) | Backing | Baste | Quilt | Bind